Creating values and dates and using them in events allows the "Adjustments" feature on the report page to work. This feature allows disabling or hiding specified events or making incremental changes to values or dates and observing the effect on the account balances in real time. Creating values and dates can also make things more readable by using formulas to calculate new values or modifiers to change a date. Values and dates can be created on the respective pages by clicking the appropriate icon in the main menu at the top.
The values page shows the currently defined values and allows adding, editing, deleting or reordering the values. The values are displayed in a grid form with one row per value. There is a column for the name, the "Adjustable" flag, the adjustment "Increment", the "Value", "Resolved Value" and "Notes". The "Resolved Value" column shows a calculated value for any values that use a formula or refer to another value. If the formula can't be resolved a red background is shown. Adjustable values show up in the adjustments window on the right side of the report page and allow you to instantly see how changing a value affects your budget. Note that values defined using a formula can't be adjustable. Only values that are simple numbers can be adjustable. Just assign the dollar amount of an event to an adjustable value, go to the report page and open the adjustments window. Using values can give you insight into how changes affect your budget. For example, you can assign an adjustable value to the interest rate on your loan, savings or 401k to see how changing that rate affects your budget years later. Or use an adjustable value to see how changing the down payment on a new loan affects your budget.
The dates page shows the currently defined dates and allows adding, editing, deleting or reordering the dates. The dates are displayed in a grid form with one row per date. There is a column for the name, the "Adjustable" flag, the adjustment "Increment", increment "Type", the date, "Modifiers", the "Resolved Date" and "Notes". The "Resolved Date" column shows a calculated date for any dates that use modifiers and/or reference other dates. If the date can't be resolved a red background is shown. Adjustable dates show up in the adjustments window on the right side of the report page and allow you to instantly see how changing a date affects your budget. Use adjustable dates when defining an event then go to the report page and open the adjustments window. Like adjustable values, using adjustable dates can help you see how changes affect your budget. For example, you can assign an adjustable date to your retirement event and see how changing that date affects your retirement savings.
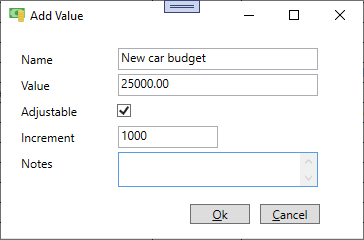
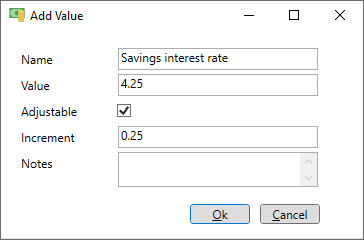
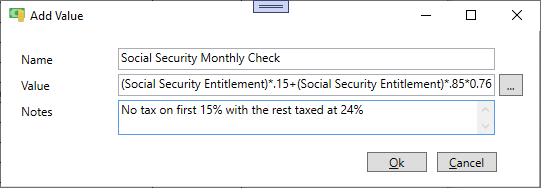
Create a new value by pressing the "Add Value" button. When the "Add Value" window appears enter the name and the value. Numerical values are usually dollar amounts but they can also be interest rates or other values used in formulas. If the value is a formula referencing other values use the button with the three dots just right of the value field to paste in one of the other values. Any value that doesn't reference another value can be marked as "Adjustable" by checking the "Adjustable" check box. Doing this allows the adjustment increment to be specified in the "Increment" field. On the report page there is an adjustment window on the right side where the adjustable values appear with arrow buttons that allow it to be adjusted. With each press of the arrow button the value is changed by the increment specified and the report is instantly updated. The up arrow adds the increment to the value and the down arrow subtracts it.
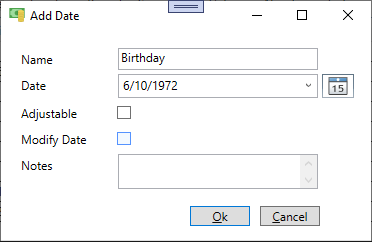
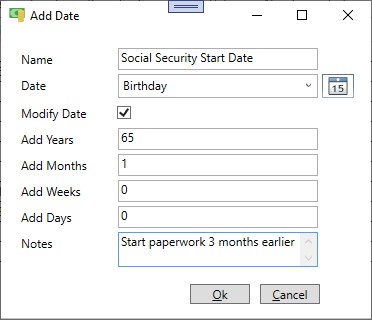
Create a new date by pressing the "Add Date" button. When the "Add Date" window appears enter the name of the date and then the date. The date can reference another date by using the small arrow on the right side of the date field to select the other date. Dates that are simply a date (no reference to another date) can be marked as "Adjustable" by checking the "Adjustable" check box. Doing this allows the adjustment increment type and increment to be specified in the respective fields.
On the report page there is an adjustment window on the right side where the adjustable dates appear with arrow buttons that allow it to be adjusted. With each press of the arrow button the date is changed by the increment specified and the report is instantly updated. The left arrow subtracts the increment from the date and the right arrow adds it.
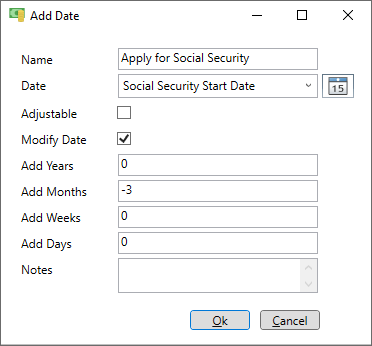
Any date can include modifiers. Just check the modifiers check box and 4 fields will appear to specify a fixed number of years, months, weeks or days to add to the date. Negative modifiers subtract from the date while positive numbers add to the date. This can be helpful to define a date that is a specific time interval from some other date. The dates page displays a "Resolved Date" for any dates that reference another date or have modifiers. If the date can't be resolved a red background is shown.
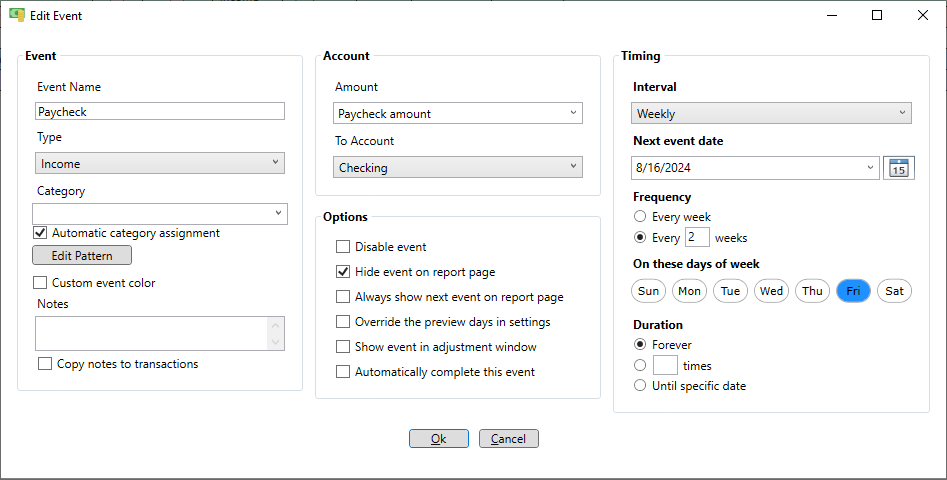
To use a value in an event create the value first on the values page. Make it adjustable if needed. Edit (or add) the event and select the value from the "Amount" drop-down list. In the example below the value is "Paycheck amount".
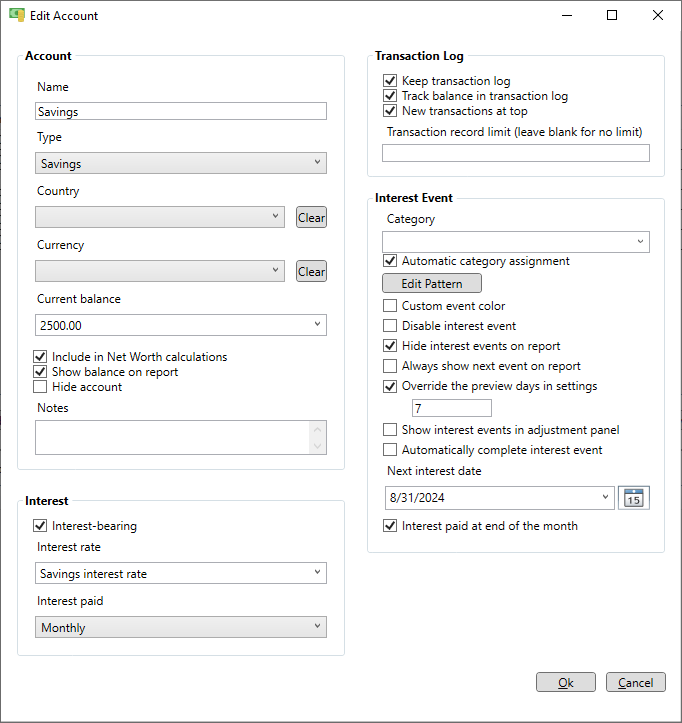
To use a value in an account create the value first on the values page. Make it adjustable if needed. In this case the value "Savings interest rate" is adjustable in increments of 0.25 percentage points and is being used as the interest rate for this savings account. Edit (or add) the account and select the value from the "Interest rate" drop-down list as in the example below.
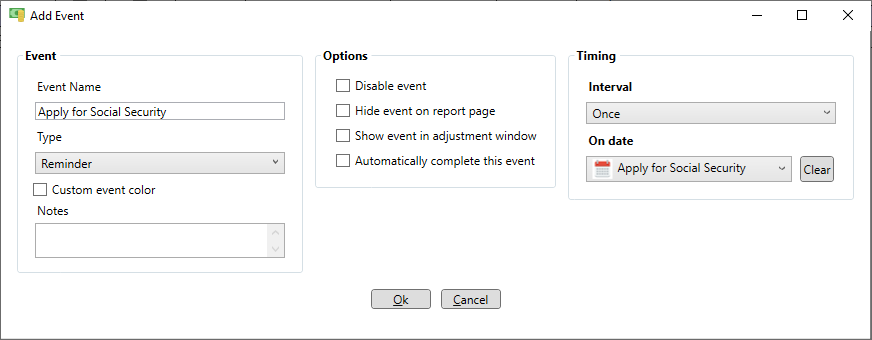
To use a date in an event create the date first on the dates page. Make it adjustable if needed. In this case the date is fixed (not adjustable) but using a fixed date with modifers makes it easier to read. Edit (or add) the event and select the date from the "Next event date" drop-down list. In the example below the date is calculated to be 3 months before the first Social Security check is expected.
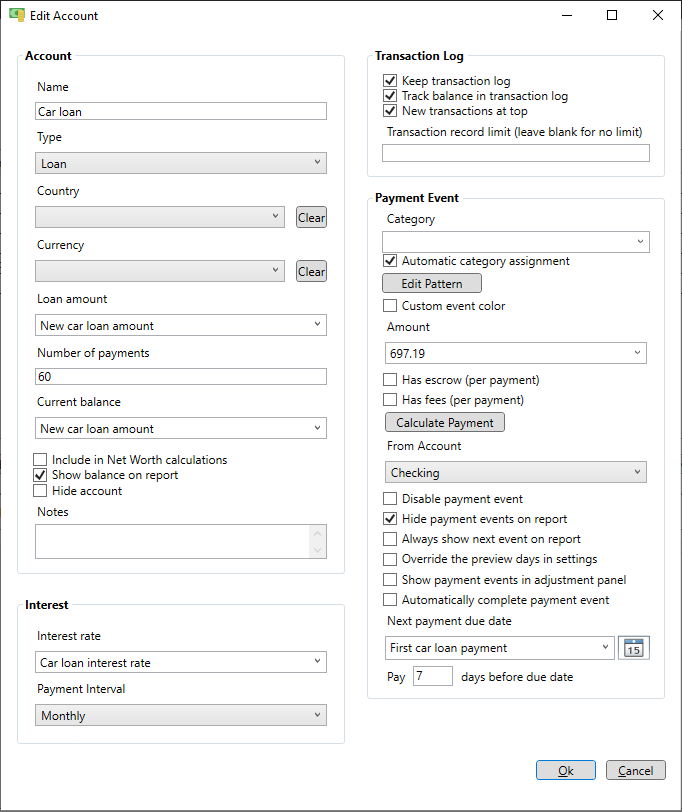
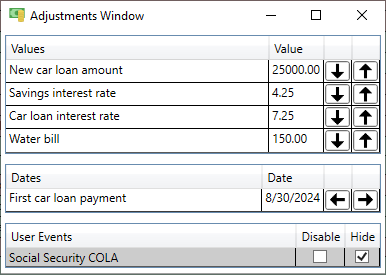
In this example we are creating a car loan where we can adjust the loan amount, interest rate and starting loan date to see how it affects our budget.
To make the adjustments go to the report page by clicking on the "Report" icon on the main menu at the top. Click the "Show Adjustments" button to display the adjustments window on the right side of the report page. All values, dates and events that have been marked "Adjustable" will show up in the adjustments window. Click the arrows next to the values "New car loan amount" and "Car loan interest rate" or the date "First car loan payment" and observe the changes in your future checking account balance or net worth.